Wednesday, April 27, 2011

Can I call this a wreath?

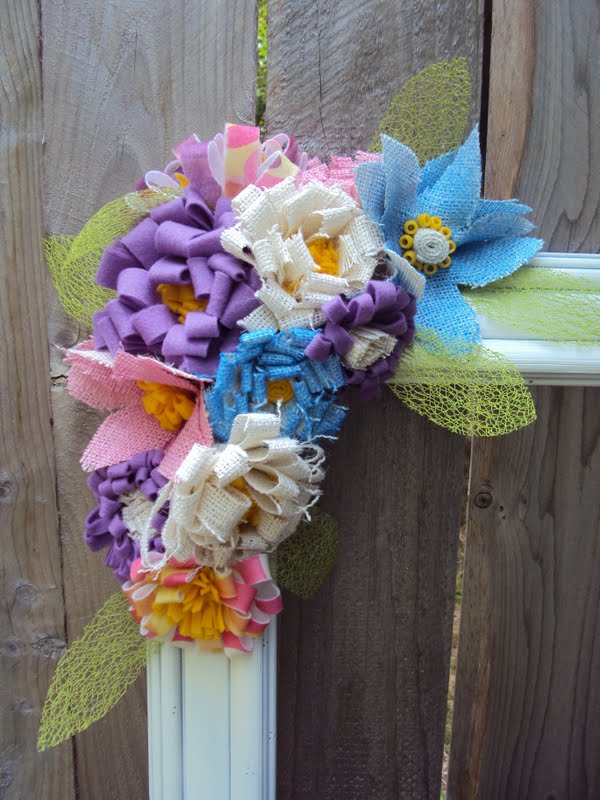
Recently while browsing around blogland I happened onto one of my favorite blogs and instantly fell in love! Amy at Positively Splendid has one of those blogs that I could stare at for hours. She has created the cutest little flowers and I had been making plans to make a wreath but didn't have all the details worked out, well that was until I saw her flowers! Here is what I created....
She is the best at putting together a tutorial so I am not going to show you how to do what she has already done so well. You must go and check out how to make these, they couldn't be easier or more fun! In the picture above the blue one at the top and pink at the bottom are a different kind of flower. I'll show you how I made those.
I cut out a simple flower shape and traced it onto some off white burlap.
I then took this Maya Mist paint and sprayed the burlap. If you don't have this stuff I really think you could water down some acrylic and make it work. What you can't see is this has a bit of sparkle to it.
Put a blob of hot glue in the center of the flower, or somewhat center, this doesn't look too centered!
And then from the back side of the flower just squish it all together so that the flower now has depth like a real flower.
I should have told you this first! Whenever I am working with hot glue I ALWAYS HAVE A BOWL OF ICE WATER NEAR ME!!! When you get burned, notice I didn't say "if" you just stick your finger in the ice water pronto and the glue will freeze and you don't have to sit and wait for the glue to cool so that you can peel off your burning flesh! It is a glue gun girls best friend. Especially when working with burlap that has a loose weave and lets the glue ooze out all over the place! Back to the tutorial...

I did the centers of my flowers all different but on this one, I rolled the the folded burlap in the middle and then glued the yellow beads all around the edge.
As I said I made all different styles and colors using burlap and felt. I also changed up the sizes from the original directions Amy gave. And I glued them on a Goodwill frame, added some leaves out of this cool ribbon I found.
Isn't it fun? So what do you think, can I call this a wreath?
I found some printed felt and made one out of it, I think it's my favorite.
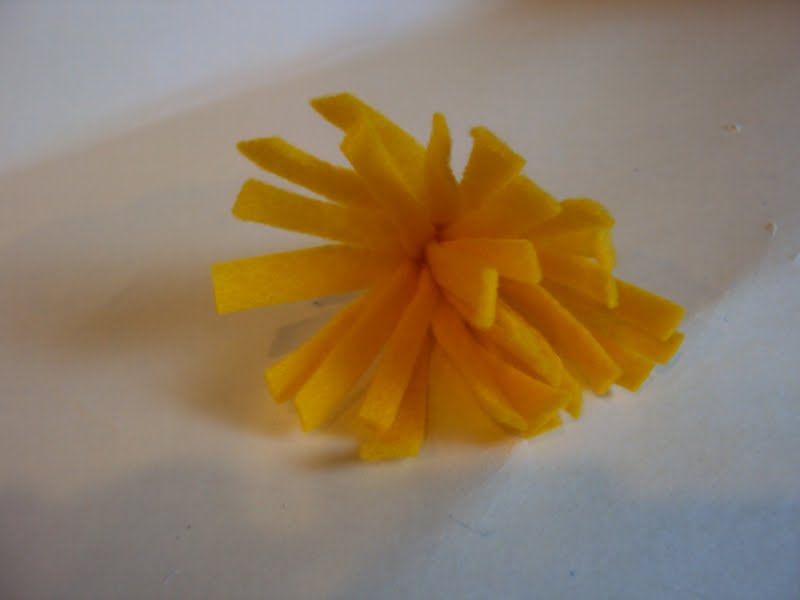
The center of this one is a little different. I used the same idea as Amy's but didn't fold, just made cuts.
Another one I painted and made a tiny flower for the center.
More printed felt.
I can see these in red and white on my Christmas tree!
But as pretty as all of these are, I still wasn't happy with my final product, so I had an idea!
I cut out 2 butterflies, made his body and antennae, then glued them together.
I actually ended up adding some of the same ribbon as the green leaves but in pink to the wings.
I found this adorable little quote that I just love!
And then I hung my wreath around it!
Sorry for these pictures. I decided to hang it in my entry hallway and it is difficult to get a good shot of it.
Anyway, I love how it turned out and I am addicted to making these flowers! Yes one MUST have a little sunshine, freedom and a little flower, even if you have to make it!

Tuesday, April 26, 2011

Guest Blogger from A Little Knick Knack

Hey guys, I want to introduce you to a great blog. Meg at A Little Knick Knack
has a great blog with lots of inspiration. Go on over and see for yourself!

Hey everyone! I'm so excited to be here at Laura's blog today. Isn't she great? I love her sense of style and whimsy. She is a wonderful inspiration to me!

My name is Meg and I live over at A Little Knick Knack. I've been blogging for just over a year and love it! I have a lovely link party every Friday called Everything but the Kitchen Sink, and I'd love for you to join! I also host many great giveaways and do some fun reviews, so come by and check things out!
A Little Knick Knack
I have a lot of wood. Anything that I can do to wood, I'll do. I love to paint, stain, glaze, hammer, distress, sand...the possibilities are endless. I had so much fun making these birdhouses....

 ...and these fun little initial blocks...

 I've been trying my hand at sewing lately. I hosted a basic sewing series with another fabulous blog friend--Tina from Twinkle Toes, and we did a tutorial on how to make these lovely pillowcases....

Today I'd like to show you how I made a really simple sign for my kitchen. First, I took an old board I had gotten in the "as-is" bin at Home Depot. They sell fragments of wood for $.50 a board. CHEAP!I took this board and primed it white.

And then painted it with a bright, bright, BRIGHT red. Since I was going to paint another color over this, I went with the sloppy method.

Let your base color dry for awhile, so there's no smearing. Once you're satisfied, paint a nice topcoat over it. I chose a light blue. 

Now, go ahead and print your letters in the size and font you want for your sign.


Now, here is my poor-man's method for getting letters on your wood. Take your signs and turn them over. Rub the back liberally with pencil. Turn them back over and trace the outside of the words onto your sign. The lead will rub off on your board leaving you a nice outline to paint. 

I like to use acrylic paint pens to fill in my words. So much easier for me and my unsteady hand!


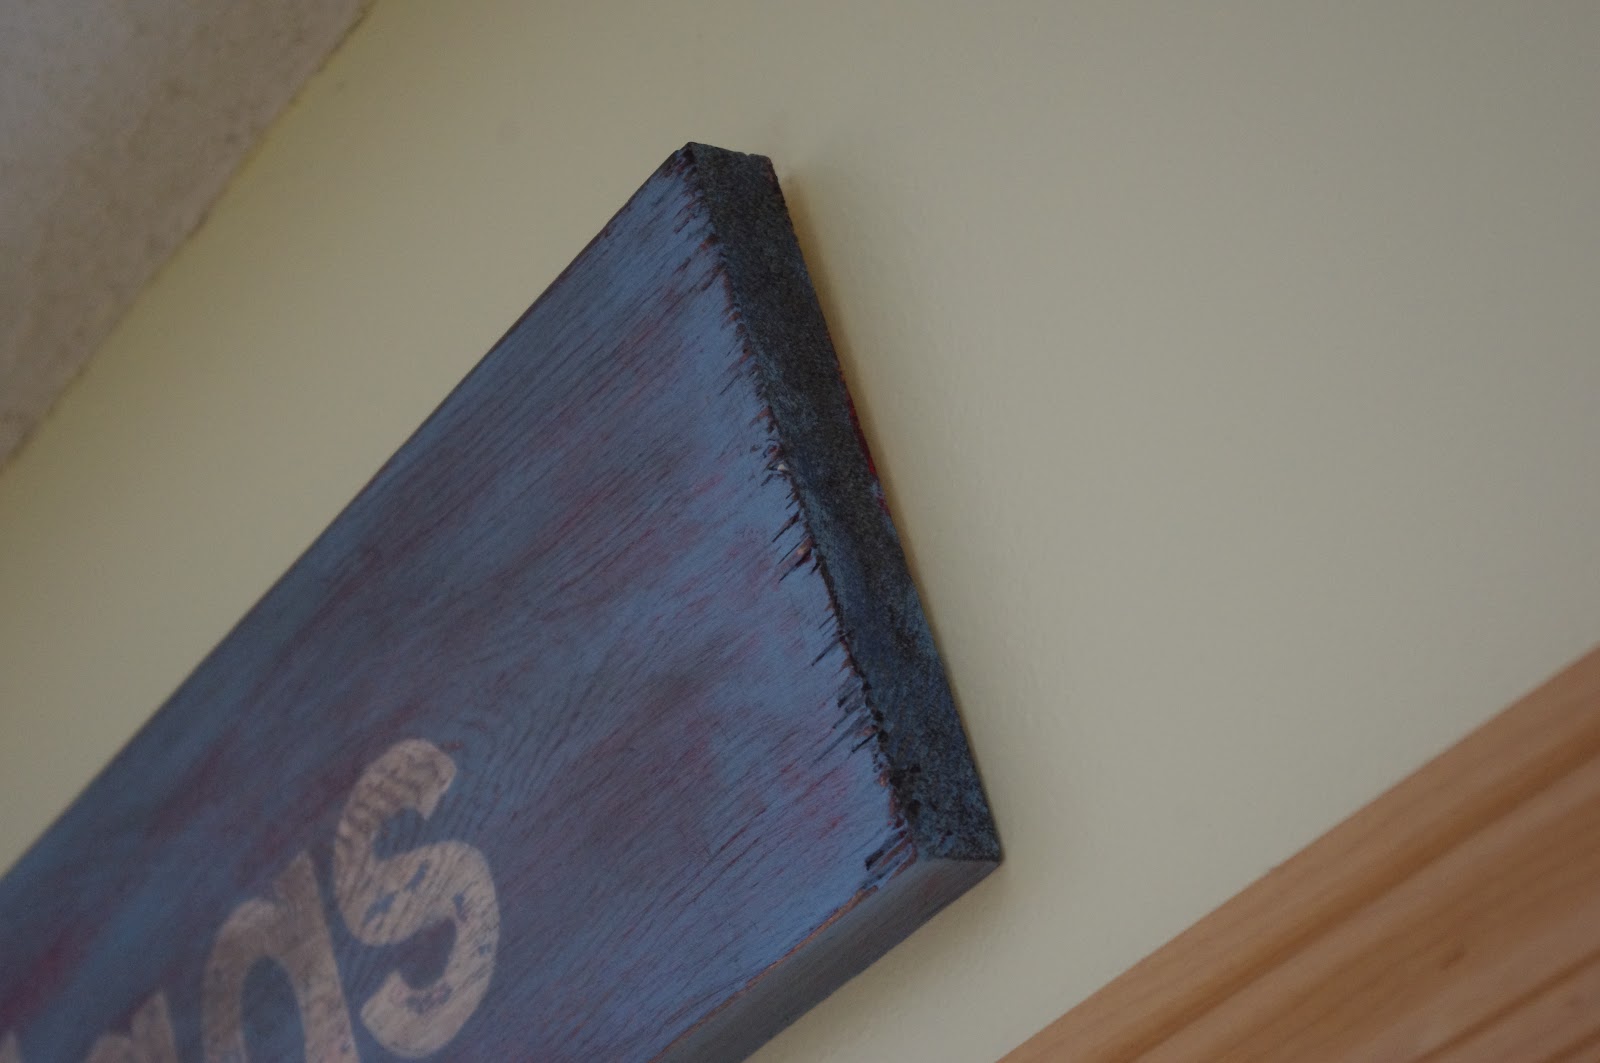
I took a piece of sand paper (150 grit) and sanded over the entire board. It sanded down nicely, but I still needed a little more antiquing. I got my walnut stain and wet paper towel.
 I brushed on a layer of walnut and then quickly wiped it off with the paper towel. It gave me the effect I was going for.


And there's your "vintage" farm sign! Enjoy!

Wow, this is great! Love the tip on how to do this if you don't have a die cut machine. Thanks Meg, great projects! So go on over guys and show Meg some love!

Saturday, April 16, 2011

Flowers that don't need watering!

So as I have mentioned several times over the last few weeks spring is here and things are blooming all around.
Love these!
 This rose bush is covered in flowers... so many it's laying on the ground now.
I can't remember what these are called but they are so pretty, I wish I had a field of them!
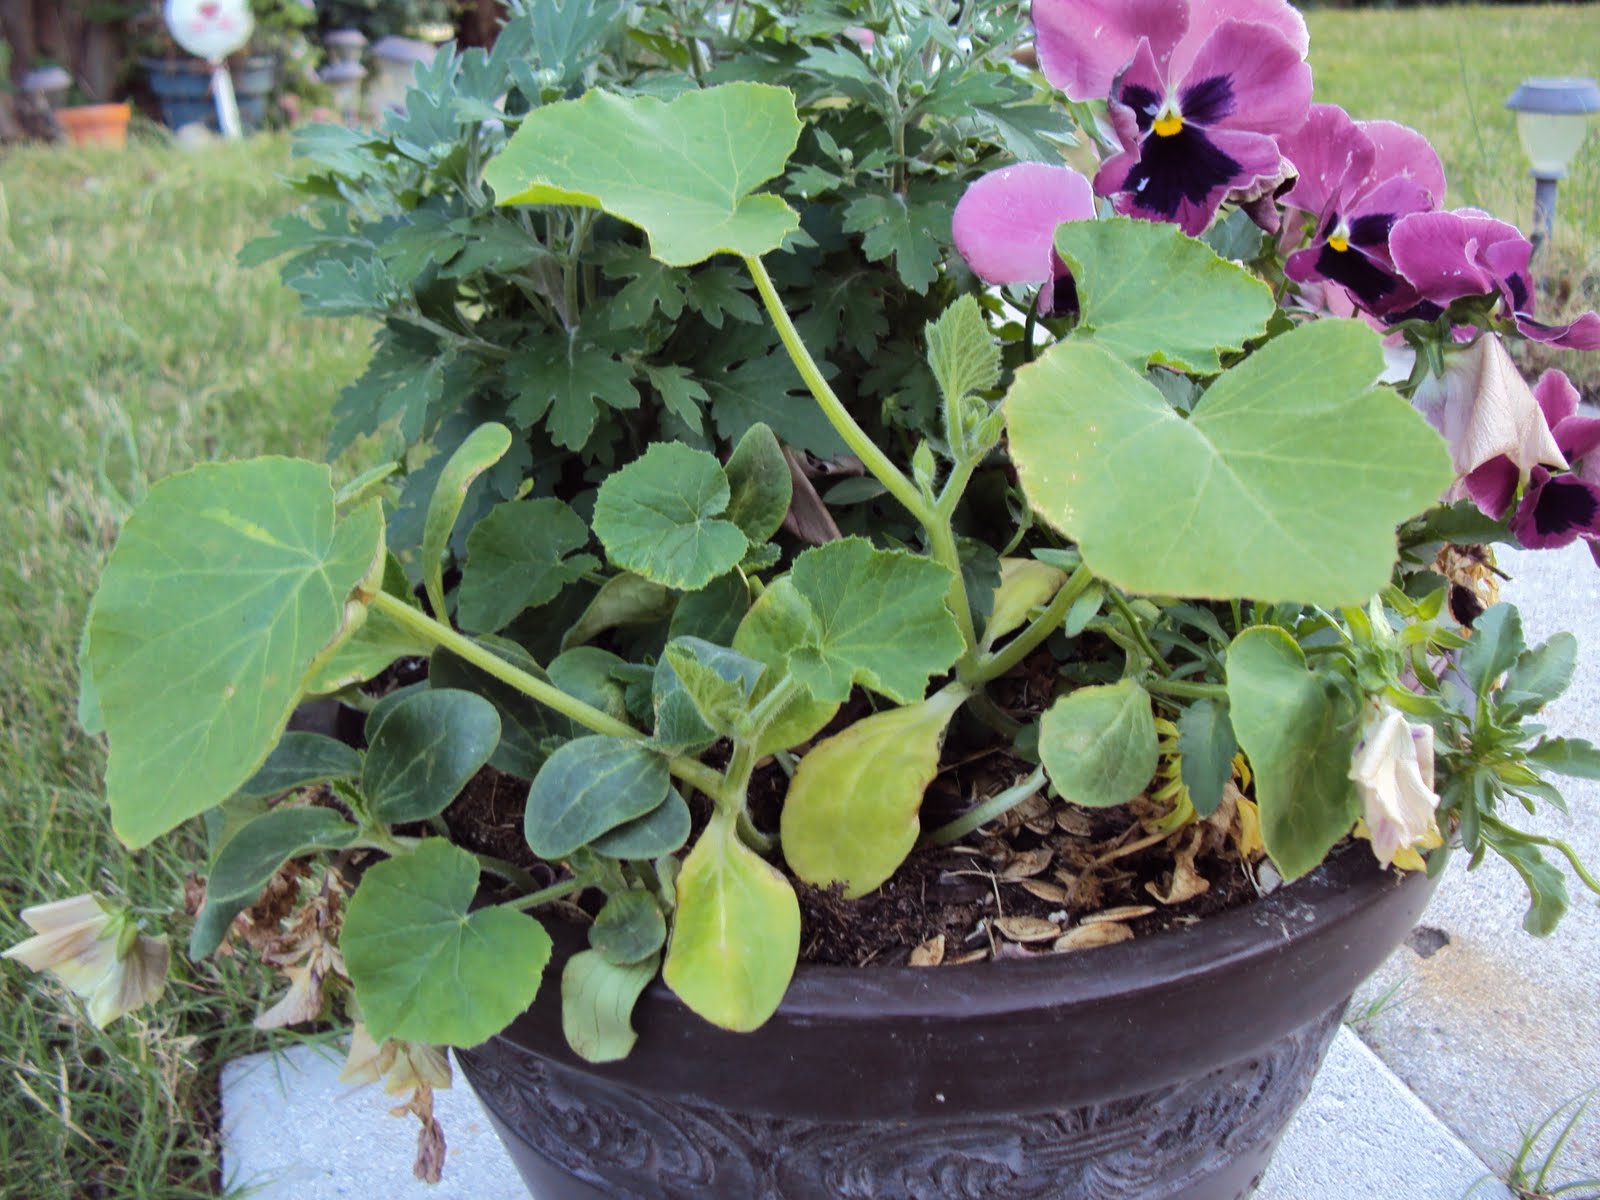
And this little surprise! It's a pumpkin plant, a pumpkin rotted in this last fall and now we have one on the way!
Anyway I thought I would try to make some flowers for the inside of the house, don't need a green thumb for that!
I have been craving ( do you crave design???) something with this kind of vintage feel.
I love the newspaper print with the icy blue colors. This one is 2 layers, the blue paper I cut with a border punch.
And this paper I am just in love with. You may remember I used it for a dress on my paper dolls here
This paper has a little sparkle to it too. I had intended to use my Silhouette for the centers of all of these but someone was on my computer, so I went old school and used punches and scissors. I love how they turned out.
I shredded up some newspaper to use for grass. Notice the stems on the flowers, I used 3 different kinds of ribbons to wrap the dowels with. Such a simple thing but I love how they look.
 Another little peek, I wish I had used this ribbon on one of the ones in the front, it's my fav.
 I didn't make a tutorial on how to make these. I found all kinds of sources on Youtube. I will tell you that some suggested a die that you put thru a machine and some suggested scoring and measuring. I did do some like that but then got tired and again went old school and just accordion folded them. If you are going to go that route I suggest get about half of it done by scoring it and then go on your own. The larger flowers are made with 2 pieces of paper 2 1/4 wide and 12 inches long and then glued together. You can find one video I used to learn how to make these. So which kind of flowers are you going to try out, the ones that need tlc or the ones that don't?

Partying at Gypsy's Corner

Related Posts Plugin for WordPress, Blogger...