You may have noticed this lamp in the pics I posted yesterday. I have a thing for vases and can only have so many of them in my house, particularly blue/green vases. I also have a hard time finding lamps that I like.... do you get where I am going? I decided to turn this inexpensive vase into a lamp. I buy these at Ross and Marshall's for $6-10 bucs. You can't beat that. You'll need to purchase a lamp kit at your local hardware store. I got mine at Home Depot for $9.97, depending on your shade, you'll also need a harp( not the musical instrument, it's the thingy that holds the shade on). Make sure you get the right size, it should not be longer than your shade. They cost about 4.00. Don't you love the shade, I picked it up at a garage sale this weekend for $1.00!!!
This vase is gergeous, I couldn't decide on this one or white, love them both!


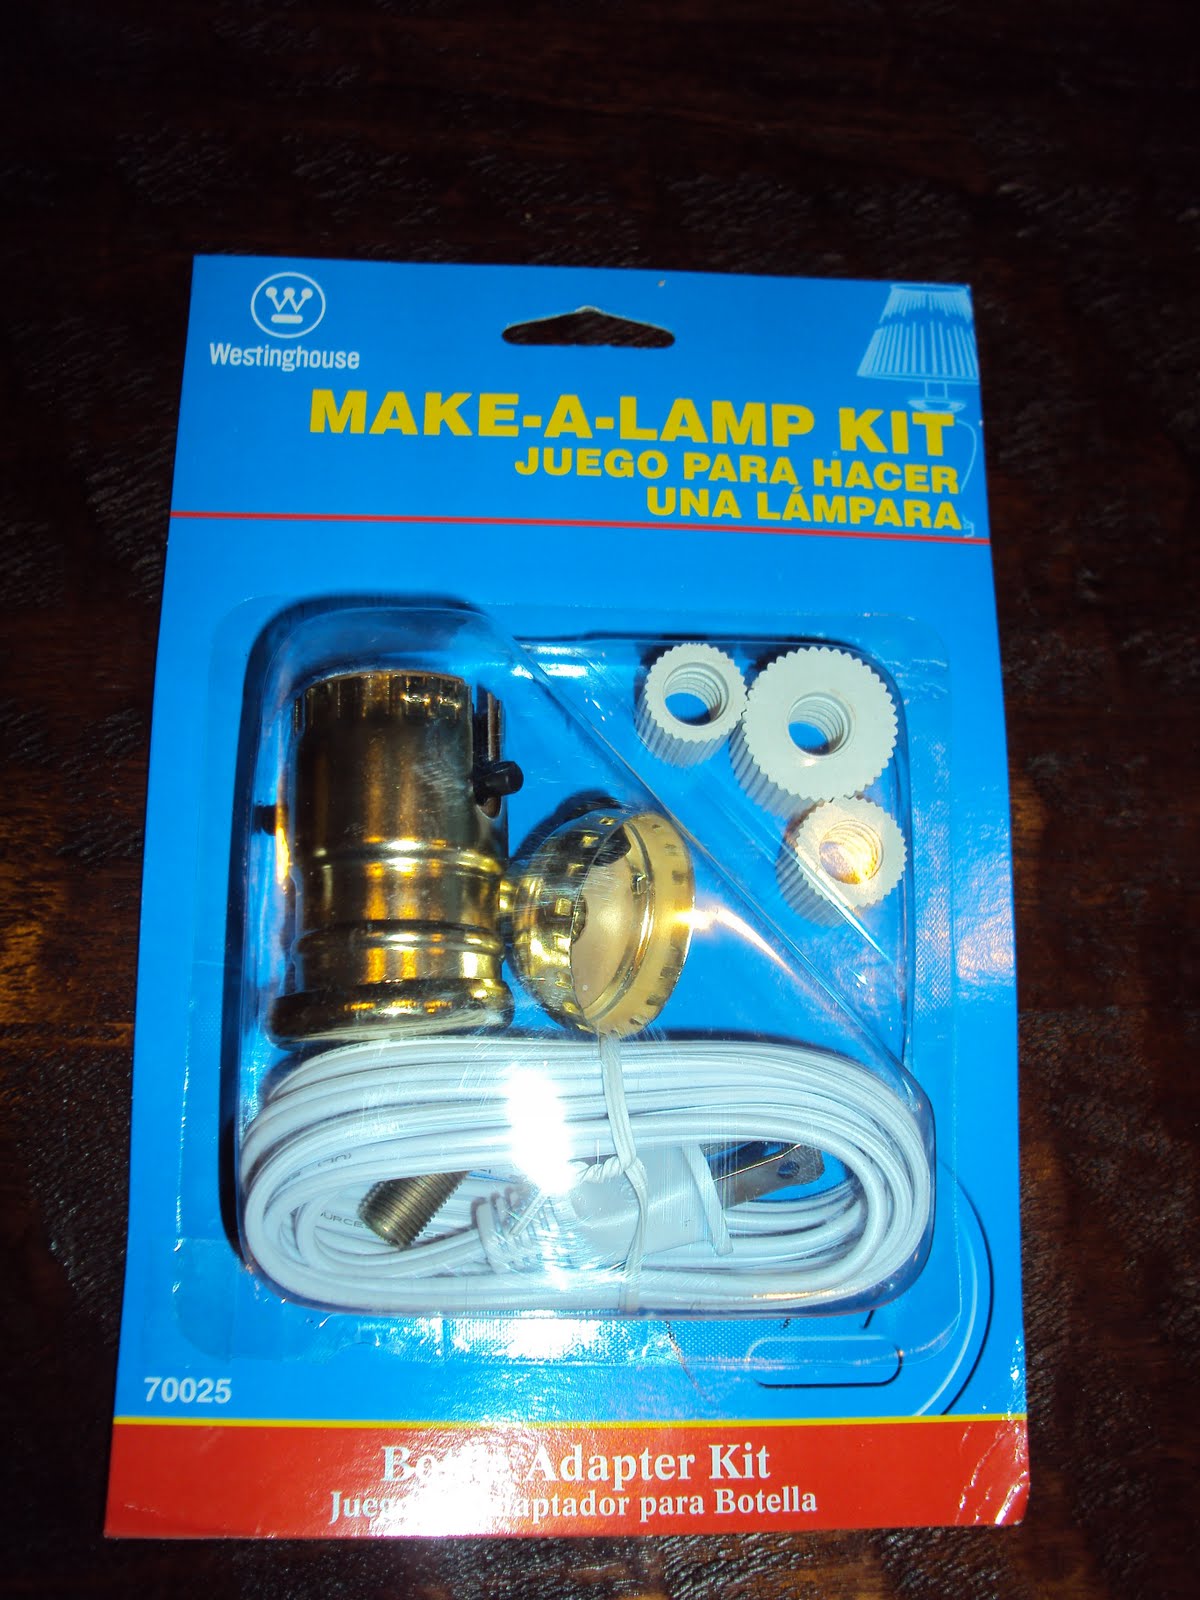
The directions on how to put the lamp together are on the back of the package. It's very simple and only takes a 5 minutes to put together. Don't be intimidated, truly simple! Typically I drill a hole in the lamp base. One thing to consider it how thick the lamp base is. Alot of times they are too thick to drill through, if so I will drill in the back of the vase about an inch up from the bottom. If the vase is bottom heavy you can bet you'll never get through. I use a bit that can go through ceramics. I think it's called a diamond drill bit. This second lamp I made had a design that had holes all in it so I didn't have to drill. If you have to drill be patient this is the part that takes the longest. I have memories of Shawshank Redemption when I am drilling, felling like I am never gonna get done, but you will, just keep on. I also put a little water on the ceramic to keep it from cracking. Your kit will come with 3 different sizes of plugs, the hole in your vase can't be bigger than the plugs or it won't work.

This is a very important tip, make sure you put the bottom part of the harp on before you get the whole thing put together. This is the thing that lets you attach a lampshade. I had to redo mine. Also if one of the plugs doesn't fit, just get the one that is closest and wrap tape around it until if fits.
It works!!!! I love this one of a kind lamp. You will become the vase hoarder that I am, try it and send me pics of what you do!


9 comments:
Great idea and info. I love the color. Isn't it fun making things from junk that look great???
I would've never even THOUGHT to make that into a lamp - BRILLIANT! Love the cut out pattern.
Yes Ms Mary it is, but you know that all so well! Rebecca thanks for stopping by, send me some bloggers!
Looks fab :)
pretty! and so simple :)
Oh my gosh...you are my HERO! I am loving this idea...GENIUS! Beautiful lamps like this are so darn expensive. I've been looking for some similar and now I know what to do. Thanks so much.
~Amanda
You are so creative. I need to come and take some sewing lessons!
Love It!!!
Oooh, so pretty! What a great idea! Now, I need to buy some lamps!
Thank you for linking to my Friday link party! Hope to see your wonderful creations back next week!
Post a Comment